I got this Nehalem pants pattern last year and spent an afternoon taping pages together, and then, couldn’t figure a fabric. I got this 1.5m of this light cotton (I think, has a linen quality but dont think its rame) in a market in Leeds in May and thought to finally sew them.

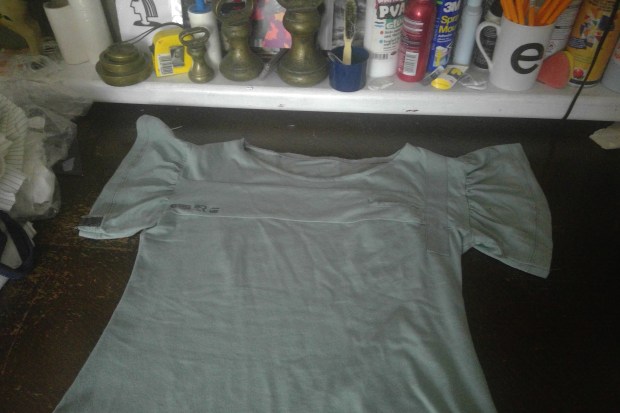
They sew up so fast – an afternoon, and the only adjustment I made was to place the tie an inch lower (hollow back). They are very practical (pockets and front seam which acts as a fold guide). I find I prefer to wear them with the waistband folded over, and if I was to wear the other way, I think I would make thicker ties for it. The only real issue I had was that the tops I had didn’t really seem to work with it – I was wearing the gathered sleeve t from the last post, but then I remembered my ‘smocky’. Its a top I bought when I was 15, and I have photos of me wearing it for the next 10 years and some. I think it retired to my sewing basket in 1996 as there is a tiny hole in it and I was going to repair it and yet never did/could. So happy to wear it again.
Looking at the photos just there unsure how come I am squinting into the light – I look asleep…..and it wasn’t even that bright this morning…
And the Nehalems were sewn on a featherweight! I have acquired one and can so see the appeal of them now.

Some months ago I was in a local charity shop and got talking to the manager Aileen. We were talking sewing and she asked me to look at some donated machines for their value and to see if they worked. I looked at 2 and cleaned them and got one working and then she brought in this case….. and it was a featherweight a bit worse for wear. Cracked lacquer, damaged case, rust on the tray but luckily none on machine – the chrome on the needle plate is damaged. There was an issue with the bobbin which would be expensive to fix. I explained (too much – her eyes glazed over) to Aileen that it was a lovely machine but as it would be expensive to fix I could not offer her much -she was happy to take 30 and I kept telling her she should really advertise it for more money (how pathetic am I!). So I brought it home. Cleaned and tidied case as much as I could.
- which was using metal polish on the spare bobbins as well as some attachments and the tray to clean off the rust (some attachements were in a box and they were fine)
- Metal cleaner on the latches etc of case – one latch is a bit buckled but it does have a key
- PVA on the case where the vinyl was torn and bubbling
- oiled everything – which in turn made the cracked lacquer less obvious
- cleaned bobbin case as it had dirt preventing the bobbin sitting in
and justified getting it fixed by Morgan as there were a few things still off with it (crack in the bobbin case holder and tension spring gone) for 160euro incl parts – and I was also rather chuffed that Morgan was enthusiastic about its repair (he kept telling me normally he would never give repair advice but did I know these were a really good machine….and told me about a matching iron they made for them….) and when I got sewing on it….it sews a charm – and I can see why the fan club exists for this machine. The stitch is like the elna (technically the elna may be slightly better), and the machine has a lovely noise/rhythm – it reminds me of my favourite GIF (both sooo cute)

Its also very portable. I have started to bring it to the community sew room for me to sew on if there are not enough machines as its light enough to put in a bag. (less bulk that way). I also justified spending 160euro on the fix as I had taken a second job, and I was going to sell the 99k (now sold). However, since I also had to drop one of my jobs, as I was working 2 part time jobs spread over 7 days a week and getting very tired, so I have now changed jobs from retail(job 1), back to clerical work (job 2 which is temping part-time). The change is good overall, and now I have time to start on the new irish dance dress……….which technically will be my main job for the next few weeks!


